

Home Improvement Guide
Vinyl Flooring Adhesive – You Can Do It Too!
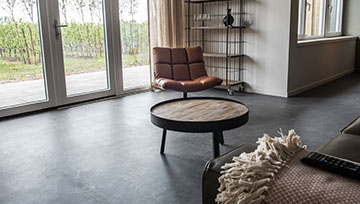
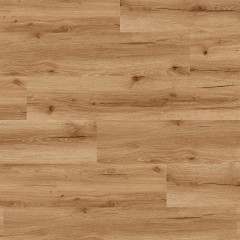
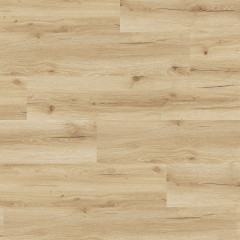
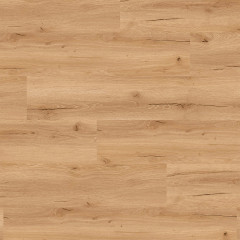
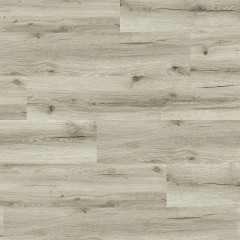
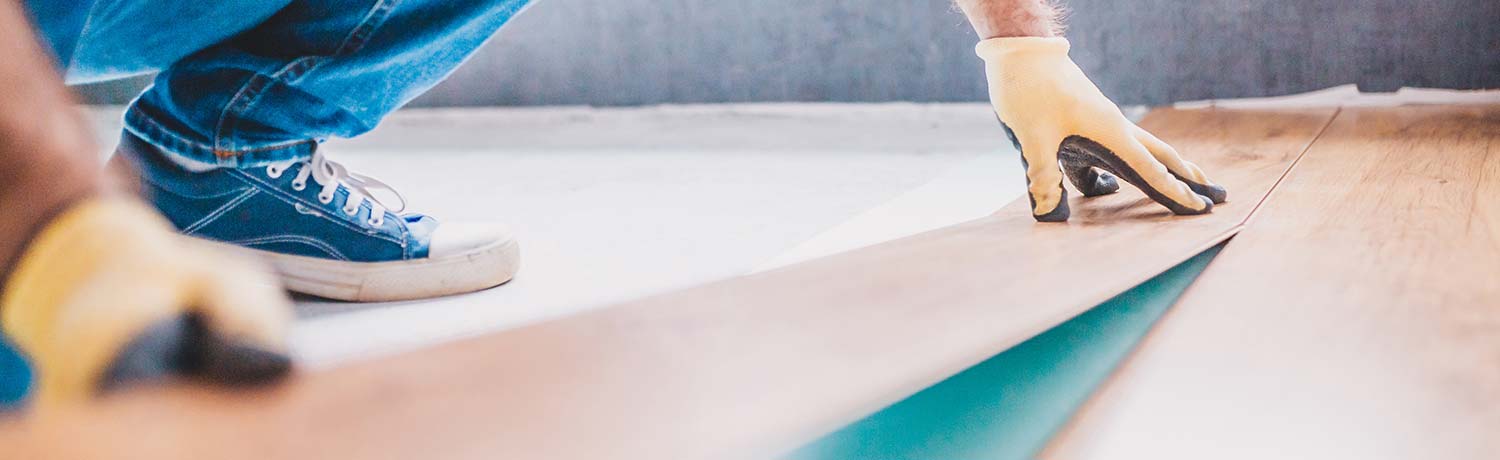
For practical residential and commercial spaces that require a durable, waterproof, and decorative flooring solution, choosing vinyl is a smart choice. These versatile plastic floors offer a wide selection of attractive decors, a pleasant feel, and excellent everyday usability. In this article, we'll reveal what matters when it comes to installing vinyl flooring with adhesive.


Vinyl Flooring: An Overview of Adhesive Options!
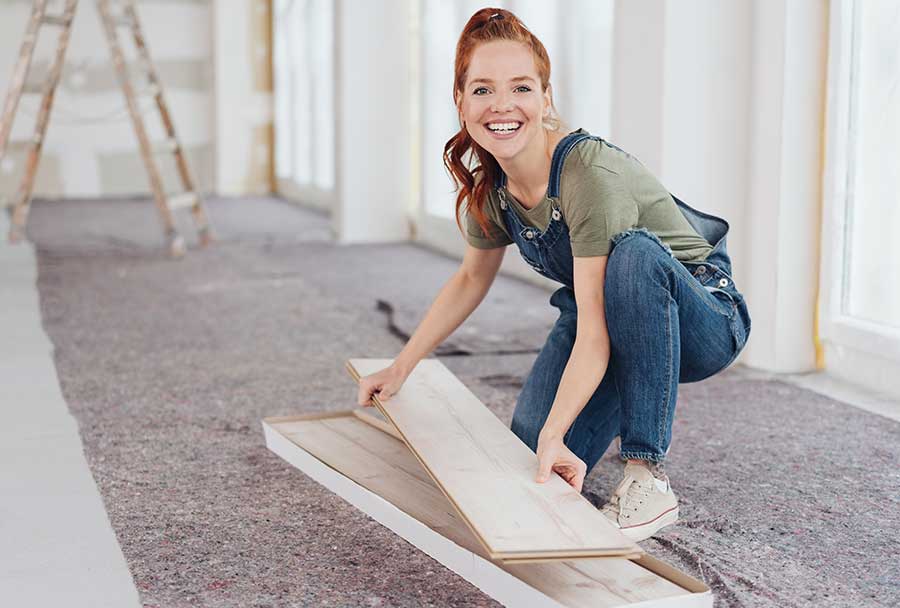
You're considering an attractive vinyl floor and wondering if you can easily install the material yourself? Our answer is: It depends on your practical experience, the intended use, and the type of vinyl variant you choose. Check which adhesive method suits your new flooring best.
- For the classic wet bed adhesive technique, craftsmanship and careful preparation are essential
- With self-adhesive vinyl tiles, even inexperienced DIY enthusiasts can achieve quick success
- Vinyl planks on the underlay are an uncomplicated adhesive method with many advantages
- The use of double-sided adhesive tape is an interesting option for large commercial rental spaces
Which method is best for your flooring project? Read in detail about the advantages and disadvantages of each adhesive technique and then choose your favorite option. If you have any questions or doubts, our experts are here to help with professional know-how and practical tips.
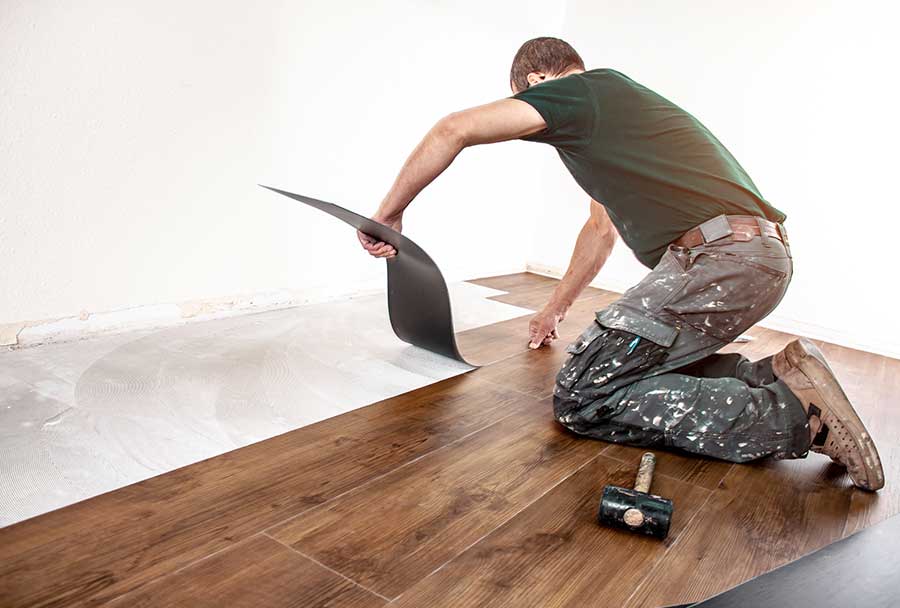
The Classic Choice for Experts: Adhering Vinyl Floors in a Wet Bed
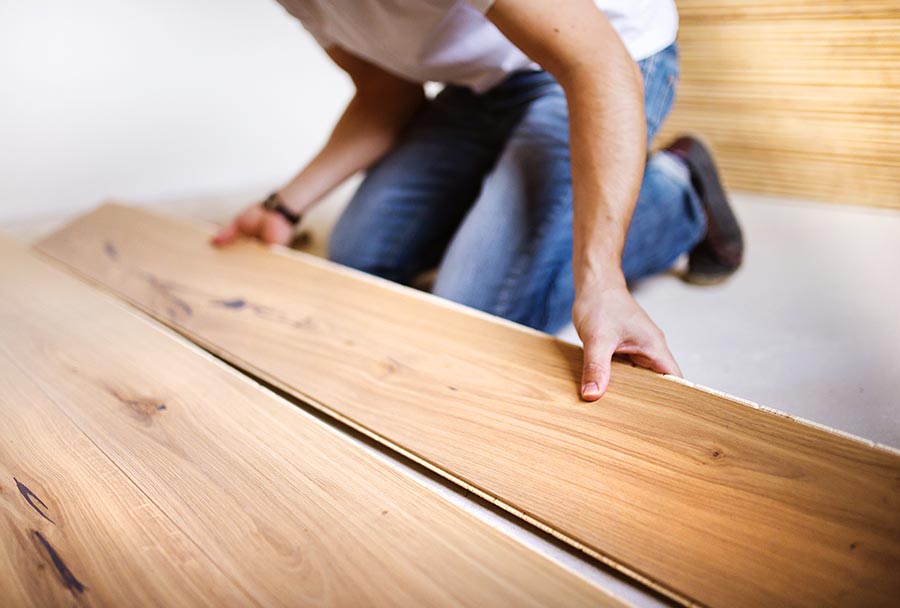
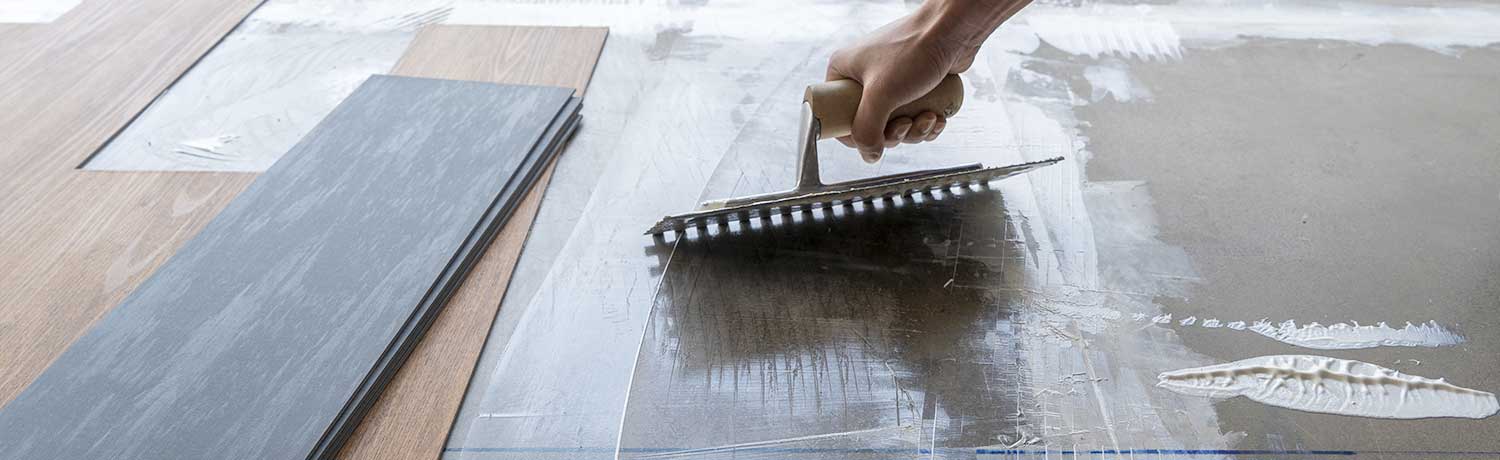
For professional floor installers and experienced DIY enthusiasts, the classic wet bed installation technique is still unbeatable: strong, customizable, and waterproof. In the first step, you carefully smooth out the substrate, addressing any irregularities with filler. Next, you evenly spread the appropriate vinyl adhesive on the prepared substrate using a notched trowel. Before the adhesive starts to set, you position the individually cut vinyl planks precisely on your substrate. With the right tools, finesse, and practice, this professional technique can be executed precisely and professionally even by skilled DIYers. If you're gluing down a floor covering for the first time, it's advisable to enlist the help of an experienced craftsman for this traditional method. With professional guidance, even adept newcomers can achieve a bubble-free and seam-free result.
Clear Advantages of the Professional Method
- High adhesive strength and stability
- Low profile height
- Waterproof and suitable for wet areas
- Ideal for large, heavily frequented spaces and commercial areas
All Disadvantages at a Glance
- Craftsmanship and fast work are important for a professional result
- Removing the floor covering later is laborious
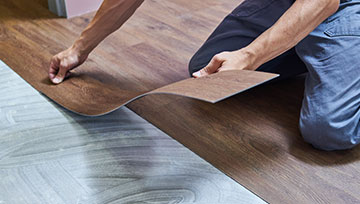
Self-Adhesive Vinyl: The Uncomplicated Option for Beginners
Self-adhesive vinyl planks can be installed quickly and comfortably even by beginners. They adhere effortlessly to a smooth and level substrate. With a thickness of only 2 mm, self-adhesive vinyl floors are by far the slimmest floor enhancers available. Therefore, if a particularly low profile height is important, they are unbeatable for quick and effective renovations in living areas. Want to remove annoying scratches and signs of wear? Damaged vinyl planks can be easily replaced with this type of flooring. By heating the damaged vinyl tile or plank with a hairdryer, it can be easily removed.
Clear Advantages of Self-Adhesive Vinyl
- Quick and uncomplicated installation
- Suitable for beginners
- Extremely low profile height
- Individual planks can be effortlessly replaced
-
 Incl. 19% VAT , excl. Shipping Cost
 -
 Incl. 19% VAT , excl. Shipping Cost
 -
 Incl. 19% VAT , excl. Shipping Cost
 -
 Incl. 19% VAT , excl. Shipping Cost
 -
 Incl. 19% VAT , excl. Shipping Cost
When is Self-Adhesive Vinyl Less Suitable?
Even though self-adhesive vinyl floors are particularly user-friendly to install, you should be aware of the disadvantages. Over time, the dry adhesive integrated into the floor loses its adhesive strength. The advantage that you can easily replace individual planks when heated with a hairdryer becomes a disadvantage in strong sunlight. In overly sunlit rooms, the adhesive can loosen over time. This can cause individual vinyl planks to become loose. Because the composite material in self-adhesive vinyl is less resistant to heavy wear and tear and can shrink, visible gaps may form over time. Even minor irregularities in the substrate can be problematic for self-adhesive vinyl. On the only 2 mm thick flooring, the tiniest grains of sand can protrude, which depending on the decor, can disrupt the overall appearance of the flooring.
Disadvantages of Self-Adhesive Vinyl Floors at a Glance
- Weak adhesive strength
- Less suitable for challenging substrates
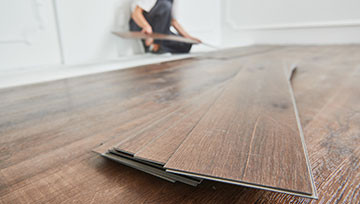
Adhering Vinyl Floors to an Underlayment: A Smart Option
The third option for adhering vinyl floors is ideal for certain purposes. In this method, the material is applied directly to an underlayment with integrated dry adhesive. This is particularly interesting and practical in older buildings with aging linoleum and PVC floors. If you want to avoid the laborious removal of glued-down old floors, a permanently elastic underlayment reliably levels out any irregularities in the flooring. This technique saves time and nerves, especially during renovation in older buildings and on large commercial and commercial surfaces: Roll out the Silent Premium underlayment over the old floor. Thanks to the integrated dry adhesive, installation is straightforward and comfortable. You just need to remove the protective film and position your vinyl plank on the exposed adhesive layer. If a plank is not positioned correctly, you can adjust it for a while. When adhering vinyl floors directly to the underlayment, your floor can be easily and residue-free removed later when you move. Therefore, this technique, which corresponds to a floating installation, is a sensible choice in rental apartments and leased commercial properties.
Clear Advantages of Adhering to the Underlayment
- Ideal for complicated substrates
- Old floors do not need to be removed beforehand
- Quick, straightforward, and clean, even for less experienced individuals
- The floor is immediately usable after installation
- Similar low profile height as traditional gluing
- Easy to make corrections
- Easy removal
Disadvantages of Adhering to the Underlayment
- Not suitable for wet areas
Vinyl Floors on Double-Sided Adhesive Film: High-End for the Professional
This method is a good choice for commercially used rental spaces. Do you already know that you will only be renting your retail space for a short period? Does the existing floor covering not suit your business? Then this somewhat more expensive installation technique is an interesting option. If it's important for you to use the flooring immediately and later remove it cleanly and without any residue, this option is definitely suitable for you. However, for this installation method, a professional should handle it! A steady hand is essential when applying the adhesive film and the vinyl floor. Otherwise, bubbles and unevenness will disrupt the overall appearance later on.
Clear Advantage
- Professional
- Can be removed without residue
- Immediately usable and load-bearing
Disadvantages of This Solution
- Cost-intensive
- Experience and craftsmanship are essential
Which Adhesive Technique Is Right for Me and My Property?
Naturally, the substrate and room size play a role. Is the substrate straightforward and smooth, or does it require significant preparation? Are you laying the floor in your weekend-only vacation home, or does it need to withstand heavy daily use? Is the floor meant to beautify the shower, kitchen, and bathroom? Does the sun shine directly on the floor day in and day out? After learning about the different adhesive techniques, you probably already have an idea of which adhesive variant suits which situation and what is entirely ruled out:
There is, of course, a difference whether you are renting or leasing your residential or commercial space for three, five, or more years. For shorter lease periods, in many situations, adhering to an underlayment is the top choice. Those who rent out residential and commercial spaces for an extended period often achieve the best value for money with the classic adhesive technique professionally applied by a floor fitter. Regardless of your chosen adhesive method, you should keep the following tips in mind:
Important Considerations for Vinyl Floor Installation!
Examine the Substrate!
Before installing your vinyl floor, make sure there is no residual moisture in the substrate. Moisture cannot escape through the material. Otherwise, moisture will accumulate under the glued vinyl planks and eventually create unsightly bulges. Also, be sure to consider expansion joints in the screed when laying the floor!
Avoid Material Experiments!
Always prioritize quality and compatibility when it comes to the materials used. Opting for apparent bargains can sometimes lead to cost-cutting in the wrong place. Substandard adhesive or components that are inexpensive but not compatible can quickly negate all your efforts. The most attractive vinyl floor may not perform well with the wrong underlayment. When in doubt, rely on the expert advice of professionals. We are here to assist you!

Give Your Floor Time!
Is time money? This saying doesn't always hold true. When it comes to gluing vinyl flooring, patience at the right moment is crucial! Vinyl floors need some time to acclimate to room temperature, especially during the cold seasons. If the flooring is significantly colder than the room when delivered, it will later expand. This is particularly important in new buildings and commercial properties. Therefore, when working with vinyl flooring from the roll, never proceed with installation immediately after delivery! Unroll it or remove the vinyl planks from their packaging first. When installing over underfloor heating, make sure it has already been set. The initial intense heating phase can damage freshly glued vinyl and cause unevenness. Therefore, the flooring installer should only proceed after the heating contractor has completed their work!
Everything clear?
We wish you success with the installation and lots of enjoyment with your new vinyl floor covering!
Comments