


Home Improvement Guide
Sanding Parquet: How to Refurbish Your Floors Step by Step
If your house or apartment has an aging parquet floor that you'd like to refresh, with some DIY skills and a detailed step-by-step guide, sanding and refinishing a parquet floor is not a problem even for beginners. Below, we've outlined a detailed process you can follow for sanding parquet.
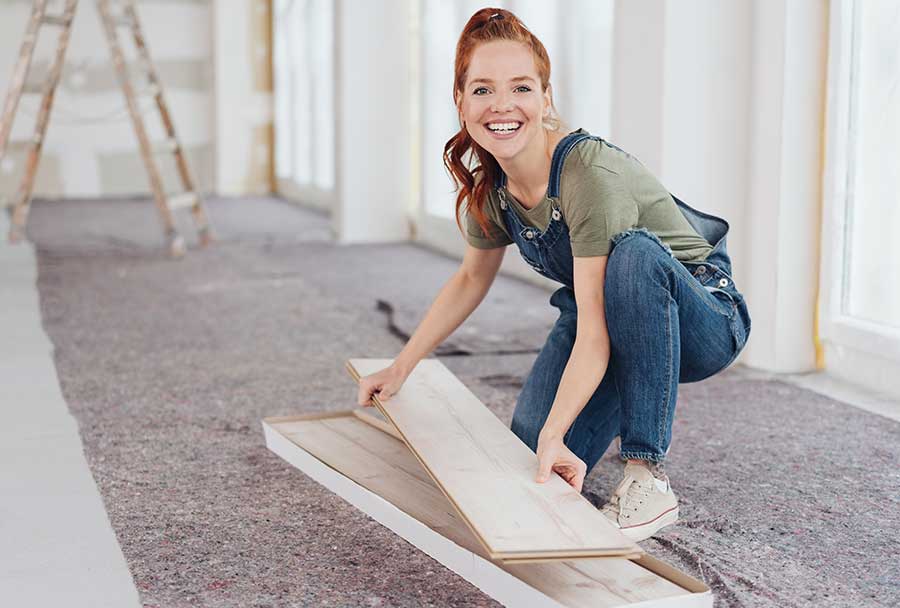
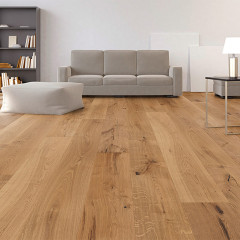
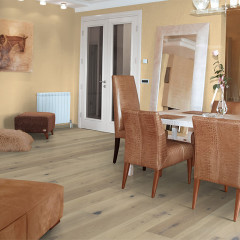
Natural Floors Made of Fine Parquet Are Trending
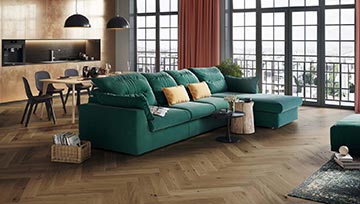
The general trend toward more natural living resonates with homeowners: Natural living is a guarantee of peace and relaxation in a time marked by stress and deadlines.
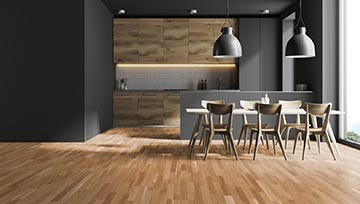
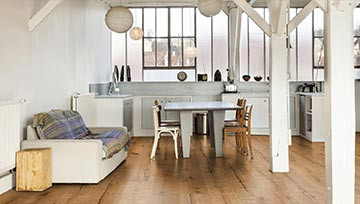
Natural floors like those made of fine parquet serve as a wonderfully natural foundation for modern living, combined with matching furniture and decor in the preferred living style.
A carefully restored parquet floor contributes significantly to improved well-being in your own space.
Why Parquet Floors Should Be Refurbished at Regular Intervals
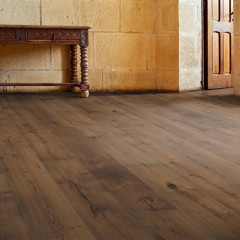
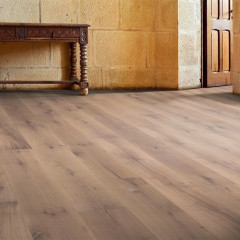
To keep floors looking like new for many years, it's not only necessary to regularly clean them with suitable floor care products, but also to carry out periodic refurbishment of the natural wood material. This helps to restore the material to its former glory and remove old or unsightly residues. Scratches, stains, or other blemishes are gradually removed through gentle sanding with a suitable machine, revealing the original natural wood. Afterward, thorough cleaning, including the removal of any dirt residues from sanding, and sealing are essential.


At What Intervals Should Parquet Floors Be Refinished?
The question of how often you should have the parquet in your living and bedroom areas sanded is not easy to answer. In addition to the condition of the floor, other criteria such as time and cost play an important role. The level of floor usage is also an important aspect when determining the sanding interval. As a rough guideline, you should consider refinishing your parquet floors every ten to fifteen years and applying a new finish. If wear and tear, such as scratches or stains, are already clearly visible, you can certainly shorten the interval accordingly. The same applies if you are moving into new spaces and discover an aging parquet floor before moving in.
Can All Parquet Floors Be Sanded and Refinished, or Are There Differences?
Unfortunately, not every parquet floor is the same and therefore not equally easy to work with. In addition to the commonly used engineered parquet, there is also solid parquet, which is often found in older buildings. While you should avoid sanding the former type of parquet, you can actually sand solid parquet multiple times in a row. This means that the number and intensity of the sanding process depend on the type of parquet and its condition. If you'd rather seek professional assistance, it's best to consult with a specialized company and schedule an on-site appointment with experts. Alternatively, those with DIY skills can use a sanding machine and refinish the parquet floor themselves.
-
 Incl. 19% VAT , excl. Shipping Cost
 -
 Incl. 19% VAT , excl. Shipping Cost
 -
 Incl. 19% VAT , excl. Shipping Cost
 -
 Incl. 19% VAT , excl. Shipping Cost
 -
 Incl. 19% VAT , excl. Shipping Cost
Making the Right Preparations for Parquet Floor Sanding
It goes without saying that a parquet floor cannot be sanded while the room or rooms are furnished. To have ample space for the sanding process and to protect furniture and furnishings from dust and dirt, you should completely empty the room before starting the work. At the same time, the parquet floor must be examined for any unevenness or residues. Pay special attention to protruding nails in this context, as they can damage the sensitive components of the sanding machine. If there are baseboards attached to the walls, carefully remove them from the wall with pliers and store them in another room until the floorwork is completed. Afterward, you can reattach the baseboards to their designated locations on the wall.
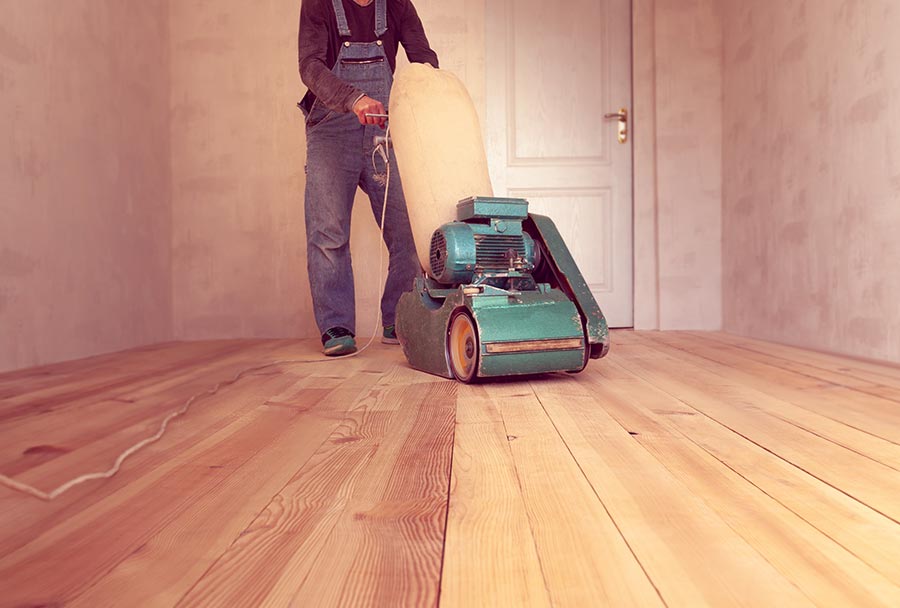
The First Steps in Sanding and Refinishing the Parquet Floor
For sanding the parquet floor, you will need a suitable machine, which you can rent from well-stocked hardware stores or, of course, purchase. After thoroughly reading the user manual, start the machine. For thorough and streak-free sanding, move the machine straight across the parquet floor. To prevent the formation of grooves on the floor, the sanding machine must reach its full power before starting the actual sanding process. Therefore, wait for a short moment before beginning to sand the parquet floor. It's also advantageous to perform the sanding in a calm and steady motion. Avoid erratic movements up and down, as well as abruptly stopping the sanding process in the middle of the room.
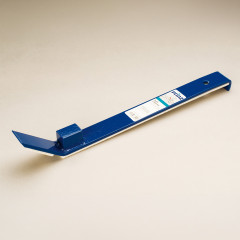
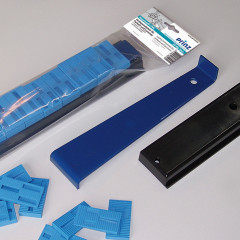
If you need to take a break, it's better to stop the sanding machine at a side edge right in front of the wall. Resume sanding at the exact same spot after the break. For sanding the edges and corners, you can find special attachments in stores. These allow you to reach even the smallest nooks, such as sanding around radiators and other obstructions.
-
 €19.90 pcsPackageprice: €19.90Regular Price €23.95 pcsIncl. 19% VAT , excl. Shipping Cost
 -
 €13.90 pcsPackageprice: €13.90Regular Price €16.95 pcsIncl. 19% VAT , excl. Shipping Cost
 -
 €19.90 pcsPackageprice: €19.90Regular Price €23.95 pcsIncl. 19% VAT , excl. Shipping Cost
 -
 €13.90 pcsPackageprice: €13.90Regular Price €16.95 pcsIncl. 19% VAT , excl. Shipping Cost
 -
 €5.90 pcsPackageprice: €5.90Regular Price €7.95 pcsIncl. 19% VAT , excl. Shipping Cost
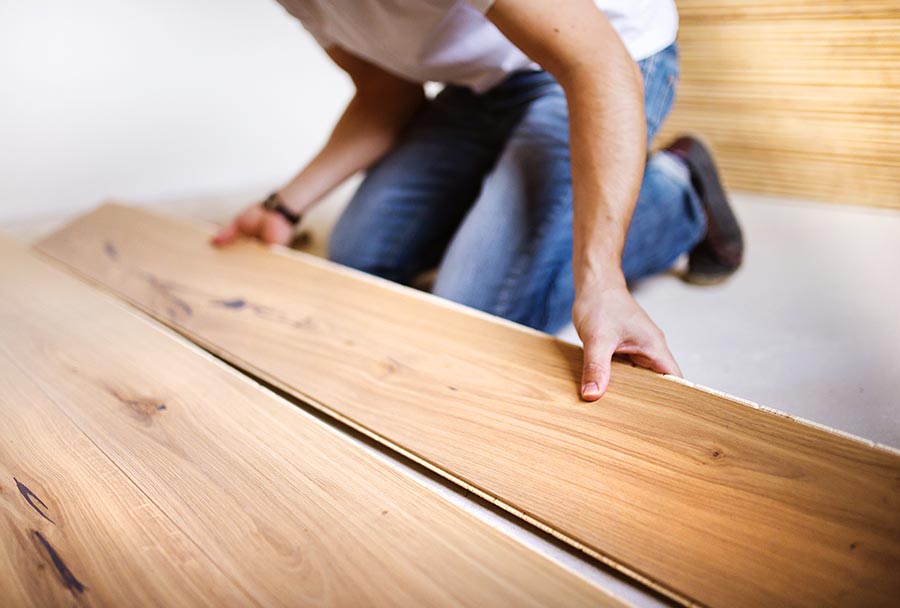
After the Initial Sanding, Additional Sanding Work Follows
Once the initial sanding is complete and the parquet floor is free from all old varnish or oil residues, you can consider performing a coarse sanding in the next step.
For this, the sanding machine needs to be equipped with coarser sandpaper.
For this next step, you should get sandpaper with a grit of 24 or preferably 36 from the hardware store. Sandpaper with a grit of 24 has a coarser grain than sandpaper with a grit of 36.
You can consult with professionals at the specialty store to determine the appropriate grit for each step of the process.
During the second step, it is essential that the sanding machine is moved diagonally across the wood grain on the parquet floor.
After each sanding step, thorough cleaning of the parquet floor is necessary.
When Sanding Parquet Floors, Ensure Adequate Protection for the Respiratory System and Eyes
Because sanding parquet floors generates intense dust, adequate protection for the mouth and eyes is essential. Therefore, before starting the sanding work, obtain a suitable mouth and eye protection. While a simple protective eyewear from a well-stocked specialty store will suffice for eye protection, you should opt for a specialized respirator mask for protecting your respiratory system.
It's advisable to seek advice from the store or hardware shop to ensure that you can protect your mouth, nose, and mucous membranes from harmful dust effectively. Additionally, wear work gloves while sanding the parquet floor. Dispose of the generated dust in a lidded container.
Be cautious when filling the container to avoid inhaling the resulting fumes. For final disposal, take the container to the nearest waste disposal facility.
What to Do If Complications Arise During Sanding?
Of course, when working on old wooden floors, complications can arise. The grit of the sandpaper might be wrong, or cracks may suddenly appear in the wood during the sanding process. In such a situation, it is important to stop sanding immediately and determine the cause of the complication as the next step. If you're unsure how to proceed, take some photos of the parquet floor and consult a skilled craftsperson. Alternatively, you can schedule an on-site appointment with a specialist to assess your space.
After Sanding Parquet Floors, Consider Sealing
Once you've completed sanding the parquet floor and thorough cleaning, including removing all residues such as dust and dirt particles, sealing the floor is essential. This ensures that the new appearance of the parquet remains intact for many years.
Various options are available for sealing. If various holes or scratches are revealed after sanding the parquet, you can easily repair them with wood putty. Afterward, apply a clear varnish to the sanded and patched parquet floor. You can find this varnish in several finishes such as glossy, satin, or matte.
If you want to give the new parquet floor a special finish, treat the surfaces with a specific care oil for parquet floors. So-called hard oil is particularly suitable for this purpose. You can reapply this hard oil at regular intervals, typically every one to two years.
What Equipment and Materials Are Necessary for Sanding Parquet Floors?
Finally, here's a summarized overview of the equipment and materials needed for sanding parquet. All these products can be purchased from any well-stocked hardware store or alternatively online. For a better overview, we list the equipment and materials in a summary:
- Sanding machine and sandpaper with various grits
- Safety goggles, face mask, and work gloves
- Vacuum cleaner, broom, and dustpan
- Paintbrushes in various sizes
- Parquet varnish, hard oil, and wood filler
- Power or extension cords
Conclusion
Sanding parquet floors should be performed at regular intervals. Especially fine solid wood parquet can be revitalized and enhanced through this process. With some DIY skills, sanding the parquet floor can be done successfully on your own.
Comments